Showing posts with label diamond. Show all posts

Wednesday, February 23, 2011

New Texture has a name: Sands of Time


There is a certain level of enjoyment and anxiety about 'naming' a new ring design or texture. Some names were kind of a given, like my tree bark rings - they were "just" rings before they were wedding rings, so I didn't have any particular wedding thought in mind when naming them. Unlike the "Love Rocks" and the "Tooled w/ Love" rings. Then there is "Subtlety" who is in danger of having their name changed. I feel like it fits the rings, but is so irritating to type - and then I had a customer who even commented on it too! It's a mouthful and complicated - the exact opposite of what the rings are. I'm thinking I should just change the name to "Comfy Cozy" but not sure that would be the best either! haha!

For these new rings, an idea popped in to my head pretty quickly as to what the texture reminded me of. Maybe it was the fact the first ones I did were in yellow gold. Combined with a strong hint of ancient Egypt - and lots of sand. At first I was a bit against the idea of sand because it might make some people think the texture is from being sandblasted, which it isn't. But then someone commented that it did remind them of dirt or sand, which confirmed my thought, so I decided it would be fine.

When I was a kid my mom sometimes watched soap operas and I remember one "Days of our Lives" and the slogan was something to the effect of "Like sands through the hour glass, so these are the days of our lives" (in a deep throaty voice while the image of a big hour glass was on screen - think... early 90's soap opera cheese).

And I really liked the sentimentality of giant hourglass and the sand representing a couples life together, the grains being days or special memories shared together over the many years of their lives... thus... the name Sands of Time. Sweet huh? Little bit of ancient Egypt, loads of sand and a soap opera memory from childhood! And I'm totally in love with this texture. I hope loving couples are too - as this texture is SO fun to create!
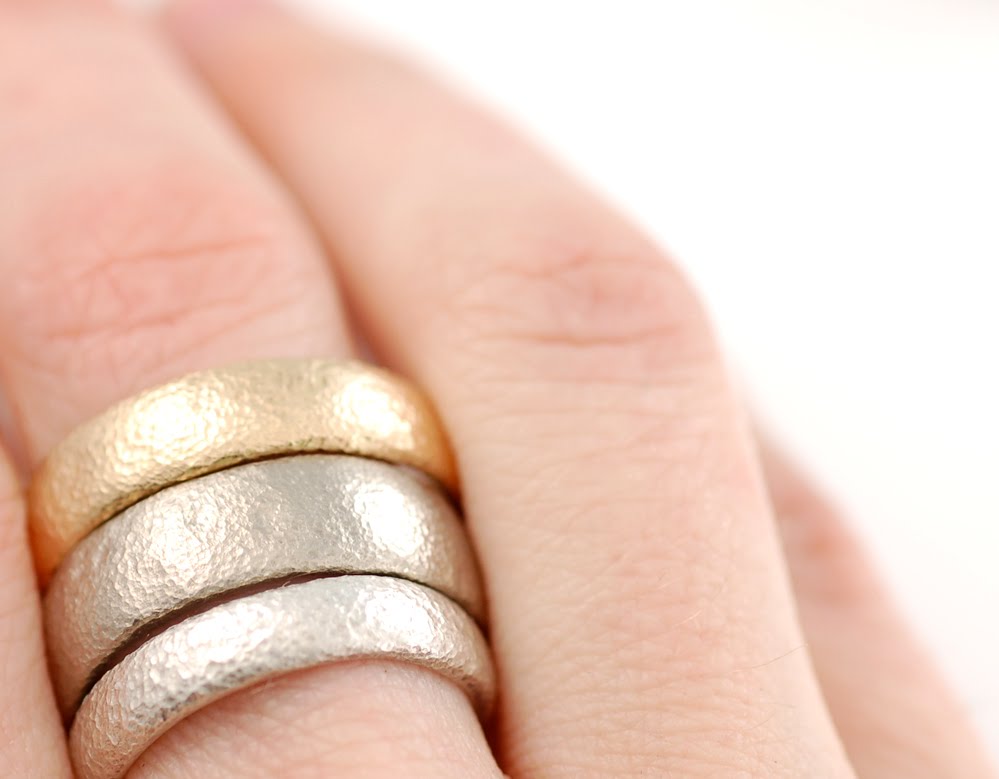


And I also did a diamond prototype, for either an engagement ring or for a wedding band w/ a diamond (or a ring that someone wants to wear um, for whatever) It is a 4mm band w/ a 2mm diamond - super subtle and almost blends right in w/ the texture. I love it!


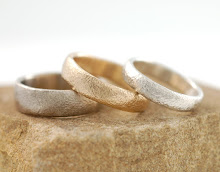
oh and did you notice the sandstone as my nature prop? clever huh? :)

The first listing is up and available here.

Thursday, October 1, 2009

Finishing up custom orders

I've been busily trying to get caught up, of course, I think that probably my usual state, so nothing new! Just wanted to post some photos of the most recently finished custom variations.

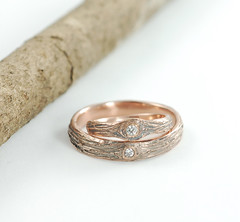
Rose Gold with patina and Diamonds (100% recycled metal + conflict free diamonds)

Sterling silver and Diamonds

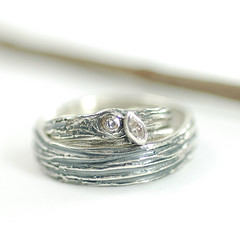
Sterling silver with champagne and white diamonds

Thursday, July 9, 2009

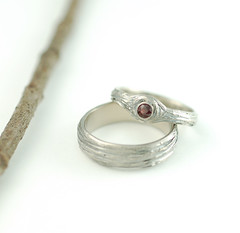
ant hill garnet and palladium white gold w/ patina

so things have been really busy - as you might have noticed in my lack of posting. I am finally starting to feel like I'm getting caught up. I still have.... well, a lot of work to do, but I've gotten over that hump of feeling completely overwhelmed. I opened my Etsy shop back up - I had decided to close it for a few days to give myself some breathing room. It really helped! Yesterday I completed some important projects I had been working on. This set included - the first tube setting in palladium white gold. I've done tube settings before, though just using ones that had been purchased. Since you can't buy tube settings in palladium white gold, I knew I had to make my own. And since the tubing existed - I figured I could do it. I had to do a practice one in sterling first and I think it turned out pretty fabulous!
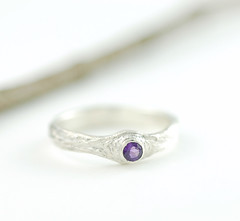
sterling and tube set amethyst
Though oddly enough - I am finding that flush setting is easier for me. I was scared of it for so long and now when I have an extra few minutes I drill a hole in a discarded ring and throw a stone in just for extra practice! It revamps the ring and gives me more confidence in offering it to customers.
sterling and flush set champagne diamond


So, yup, I'm still really busy, but going to try to come back to a more balanced work load that includes at least a couple of blog posts a week!

Tuesday, June 16, 2009

flush set practice - reclaimed sterling and diamond ring - w/ patina

Out of need I finally did my first flush set a couple weeks ago. It turned out amazingly easier than I thought it would be. I wondered if it was a fluke though. It was a ring that I had cast the diamond in place - the diamond got a little burned, so I smashed it out and decided instead of redoing the whole ring, I would attempt to set the stone first. It worked great!.

I did a second one a couple days ago. Same situation - a ring that had two stones cast in place - one was PERFECT. The other... split down the middle and the metal cast through the stone. And the color of the stone changed. It was so weird. I smashed the damaged one out and and set another to match the one cast in place. I was extremely pleased and you can hardly tell any difference. (and if you are wondering how I am doing this smashing, a nail or chasing tool and a hammer. works great and is actually very fun)

So, after the two 'out of need' setting situations - I decided to do a few intentionally. Which meant practicing on a ring that was just hanging around - I 'reclaimed' it (filed, hammered, made it lovely and tough looking) and then decided i might as well set 3. In my attempt to unevenly space them - they ended up being a little more even than I had planned. Which I find very ironic - though its hard to photograph it so you can see all three at the same time.

I was really happy w/ how it turned out. I photographed it with a heavy patina, and w/ just a light patina - since it was practice, i figured I might as play w/ it.

Its not perfect, but thats why its called practice! I do have to say that my friends, Sara and Clare have been a big inspiration with their lovely flush settings. I've been putting it off for a long time as any time I read tutorials, it just seemed extraordinarily difficult. Once again, reminding me that just working it out on my own is a better way for me to learn that trying to actually follow instructions. Reading the instructions was good - but then forgetting half of them and just winging it is what works best for me!

I love the setting, all tucked away and kind of hidden in the metal - not sticking up or getting in the way. I love the action of the setting too, using the metal of the ring to hold the stone in. I love the look of casting them in place, like the metal grew around the stone, but these are a close second... if not a tie!